Table extraction is not a one-size-fits-all problem. Off-the-shelf models often struggle with domain-specific documents, such as unusual layouts, merged cells, inconsistent formatting. For end to end table extraction, you first need to detect the tables within the document page (table detection). Next, you need to detect the table header, rows, columns to reconstruct the table cells (table structure recognition). Finally, place the tabular texts (using text extraction via OCR or directly from PDF) in the right cells.
When I first set out to fine-tune the Table Transformer model, I quickly realized that one of the biggest bottlenecks wasn’t the model itself. It was the data. Without properly annotated data, even the best model won’t perform well. That’s where high-quality annotation comes in.
In this article, I’ll walk through how I set up a fully-local Label Studio for table annotation and how to make annotation manageable. By the end, you’ll have a clean domain-specific dataset ready for fine-tuning the Table Transformer. If you already have a labeled dataset, you can check out the second part of this series for the Table Transformer fine-tuning guide.
Overview 🔗
Label Studio is an open source data labeling tool that lets you label data types like audio, text, images, videos, and time series with a simple and straightforward UI and export to various model formats. It is easy to install and setup by simply following the documentation. In this guide, I will cover some additional tips that are useful in my data annotation use case and specific to preparing for fine-tuning table transformer models.
Getting Started 🔗
Firstly, if you are annotating PDF documents, you will first need to convert each page into an image. One nifty tool is pdf2image and you can refer to my helper script (make sure poppler is installed as mentioned here).
Getting Label Studio installed and running is relatively straightforward. As usual, create a virtual environment (I highly recommend using uv). Then you just need to run:
# remove "uv" if you are using the traditional pip.
# In my case, I used version 1.17.0. You can use "uv pip install label-studo==1.17.0"
uv pip install label-studio

# start the local server
label-studio
A sign up is required even when running locally so as to create, manage, and collaborate on data labeling projects, especially for multi-user environments and production deployments, as it ties annotations to specific accounts and provides centralized project management.
Annotate Using Local Files 🔗
Label Studio integrates with popular cloud and external storage systems, such as Amazon S3, Google Cloud Storage, Microsoft Azure Blob. However, if you want to work completely local and offline, you have the option of using your local storage and here’s how.
When creating your first project, you can skip the Data Import and Labeling Setup first if you would like to use your local files as your data for annotation. First, make sure you create the environment variables on your system Edit environment variables for your account and add the following:

Environment variables for using local files
The document root should be the root folder where your images are stored. In my case, my images are stored under C:\Users\andyp\projects\label-studio\data so my root is defined as C:\Users\andyp\projects\label-studio.
Once the project is created, go to Settings in the top right and select Cloud Storage on the sidebar. Click on Add Source Storage, fill in the required fields and click on Check Connection. If the status show as failed, make sure in the configuration you checked the button for Treat every bucket object as a source file. Once it is successful, click on Add Storage and then Sync Storage.
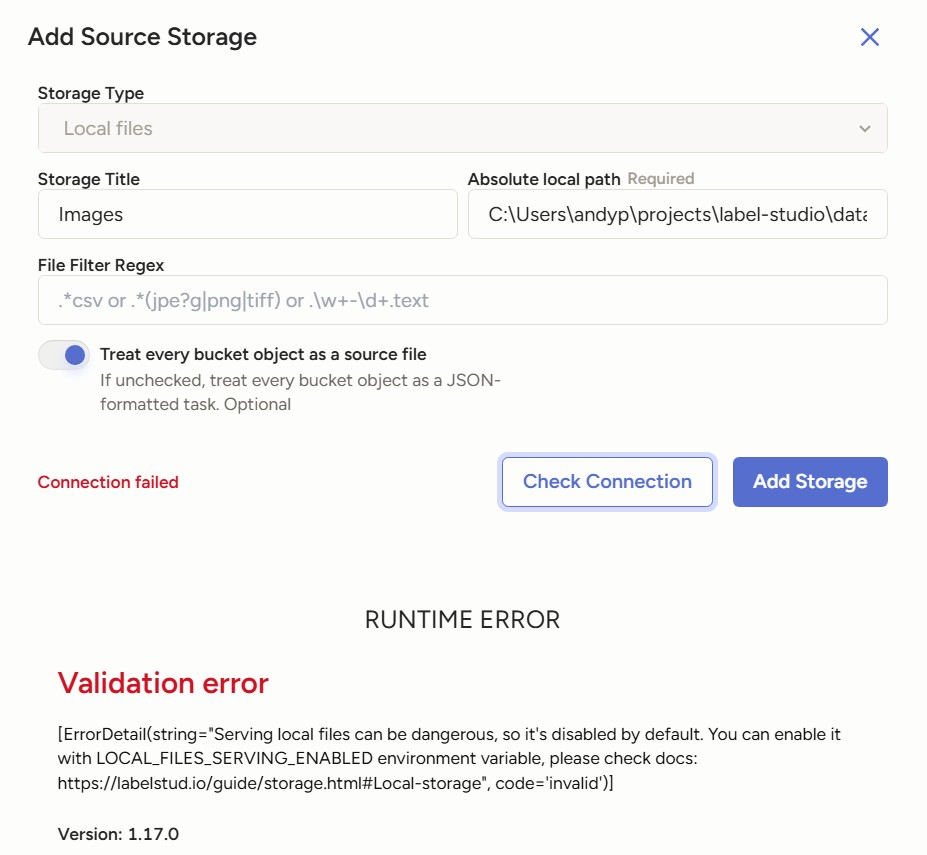
Validation error when adding source storage
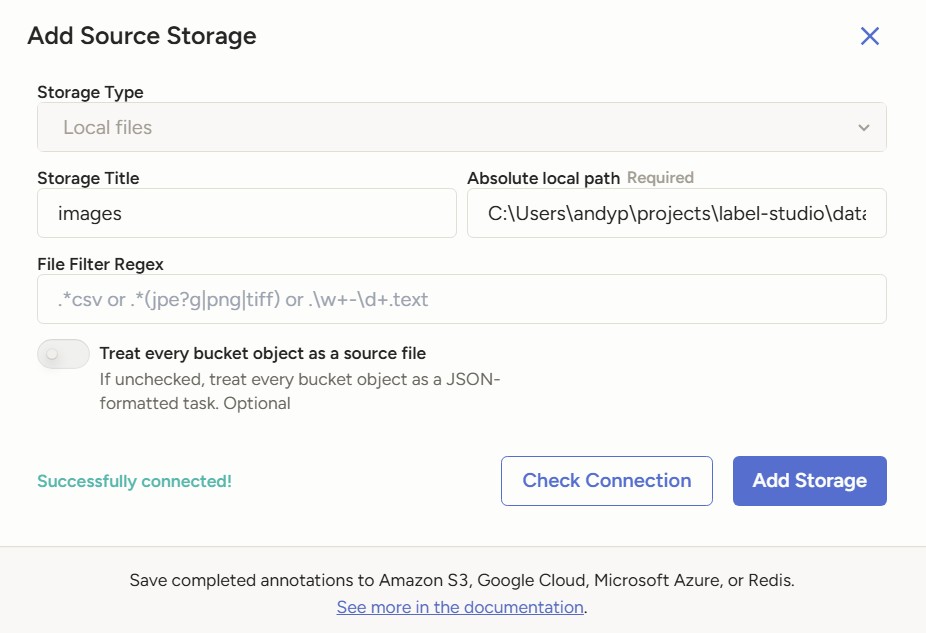
Adding source storage succesfully
Labeling Config for Table Detection/Structure Recognition 🔗
Next, click on Labeling Interface to set up the labeling configuration. Click on Browse Template and select Object Detection with Bounding Boxes. Remove the template labels and add the labels for either table detection or table structure recognition.
Follow the microsoft/table-transformer-detection config.json label2id to setup the Labels. In my case, I do not have any rotated tables in my documents, hence I only add the table label.
"label2id": {
    "table": 0,
    "table rotated": 1
  }
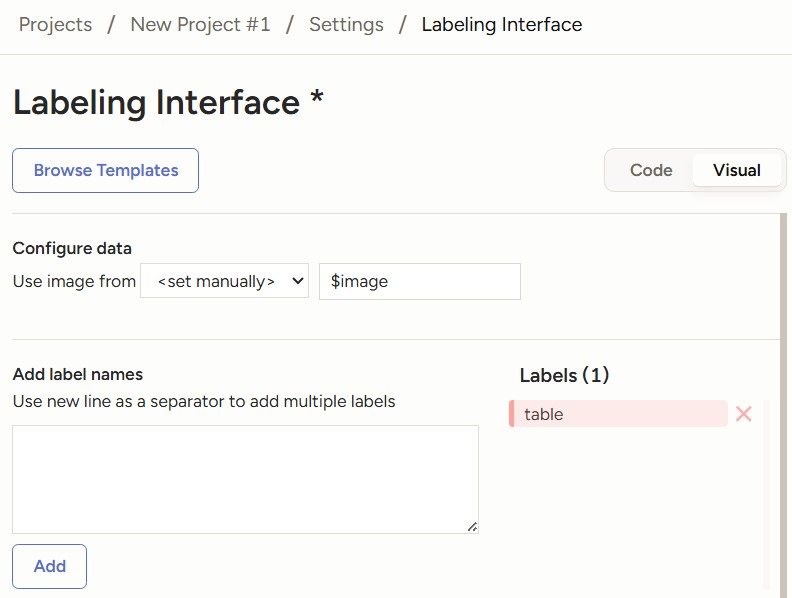
Labeling interface for table detection
Similarly, follow the microsoft/table-transformer-structure-recognition config.json label2id to setup the Labels.
"label2id": {
    "table": 0,
    "table column": 1,
    "table column header": 3,
    "table projected row header": 4,
    "table row": 2,
    "table spanning cell": 5
  }
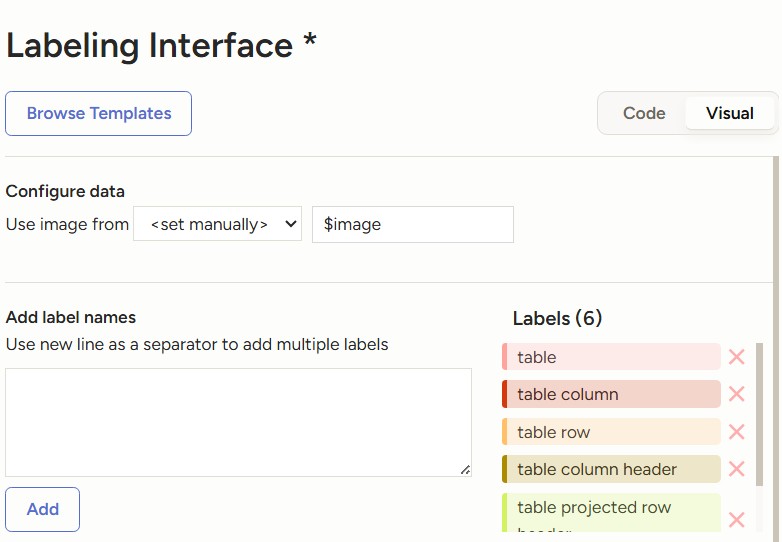
Labeling interface for table structure recognition
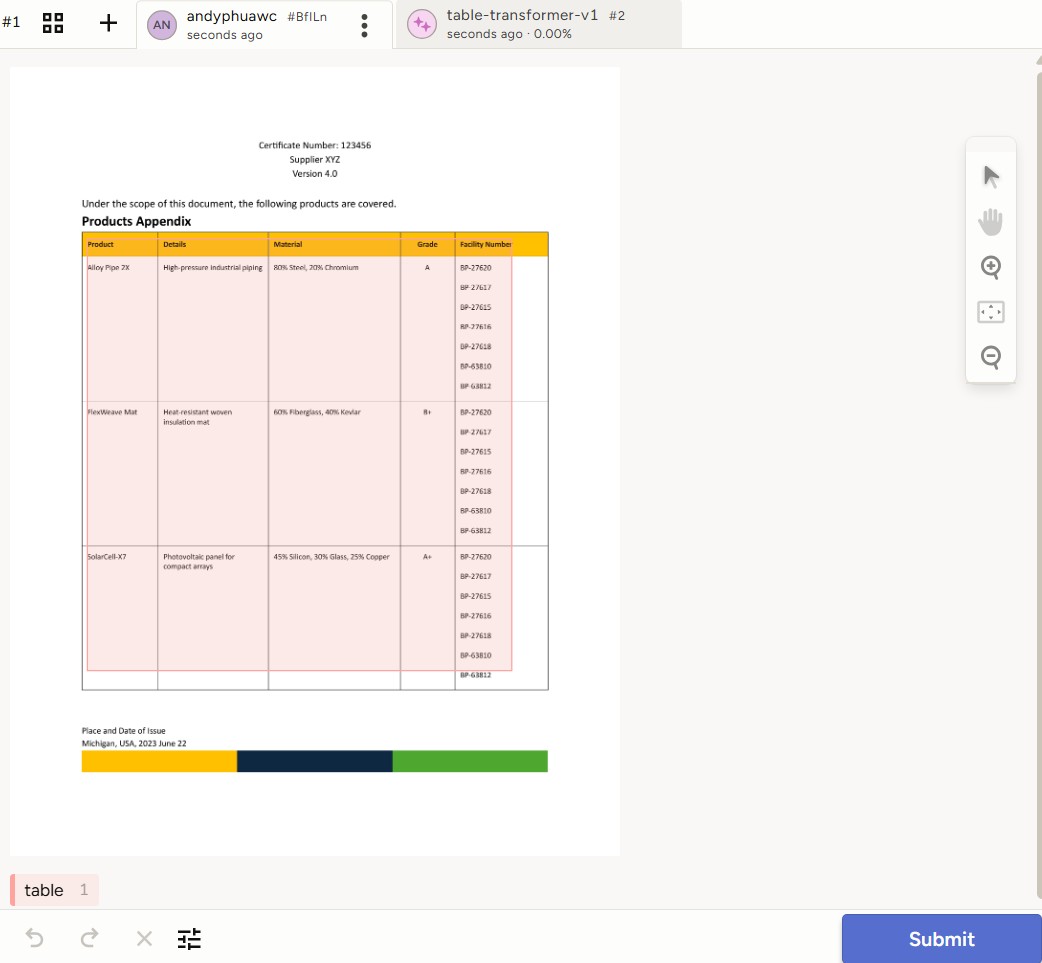
Once the labeling interface is configured, you can start annotating your data.
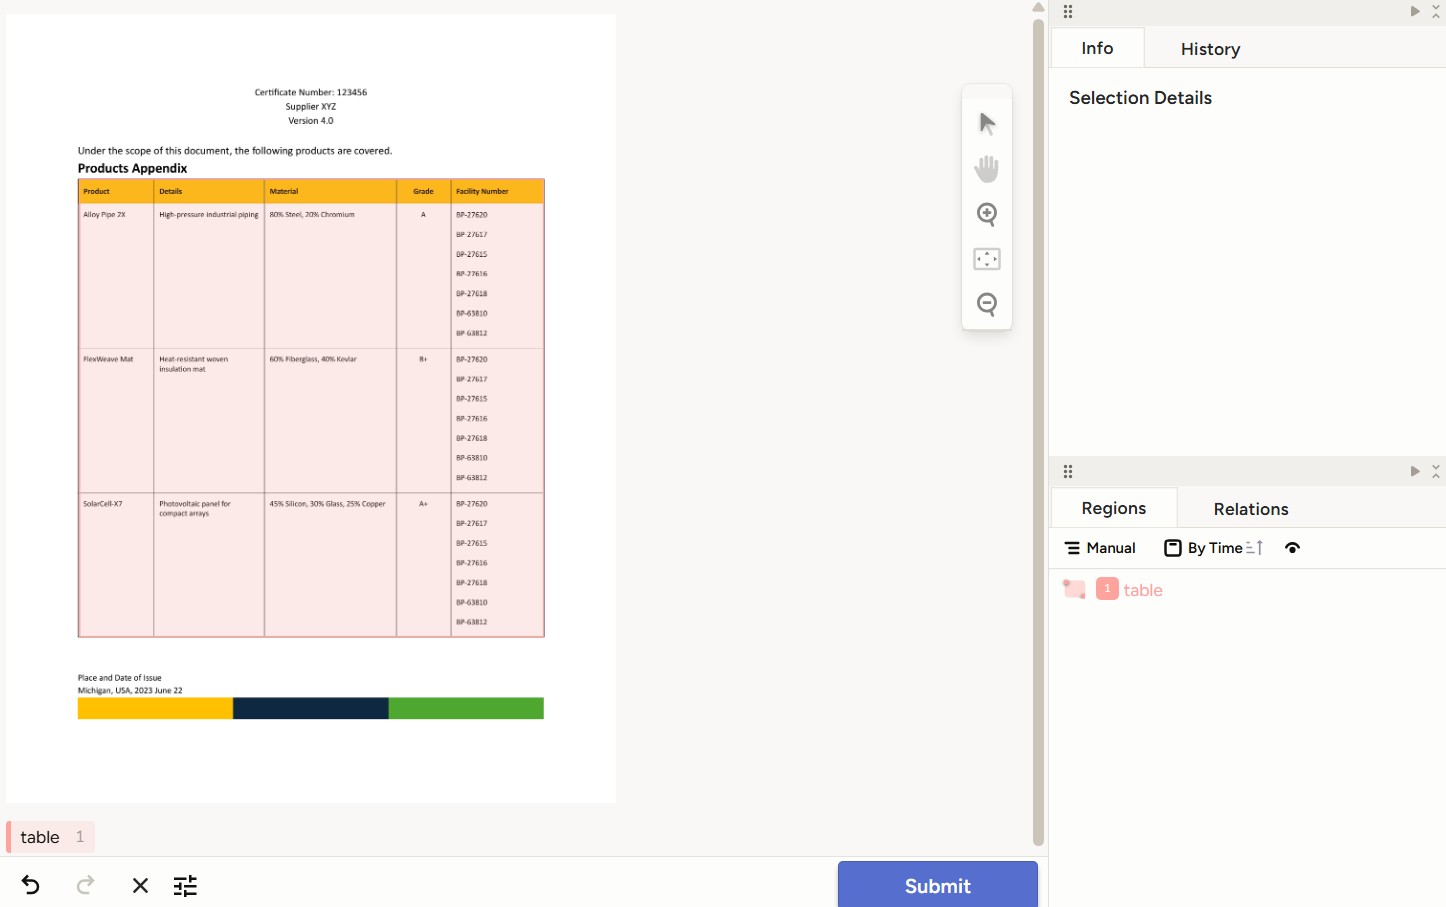
Example of an annotated table
Semi-Automate Labeling Tasks with Machine Learning Backend 🔗
To assist in data labeling, you can set up the Table Transformer base model as a machine learning (ML) backend for predictions. Instead of labeling from scratch, you can use the backend to predict the bounding boxes and adjust them before submitting as your annotation.
To get started, git clone the repo from Label Studio:
git clone https://github.com/HumanSignal/label-studio-ml-backend.git
Then create a virtual environment and install the requirements. If you face issues with any installation, install label-studio-sdk separately using uv pip install label-studio-sdk and comment out the label-studio-sdk in the requirements.txt. Thereafter install the rest of the packages using uv pip install -r requirements.txt.
Install the project repo using uv pip install -e . and now you can initialize and start creating your own ML backend using label-studio-ml create table-transformer-backend.
The model.py file is where you implement your own inference logic. You can refer to the file on my github for a sample of a working ML table transformer backend.
Start the ML backend server using label-studio-ml start table-transformer-backend. By default it should be hosted on port 9090 and label studio will be able to connect to the backend via 127.0.0.1:9090. If there is a validation error the first time, try Validate and Save again.
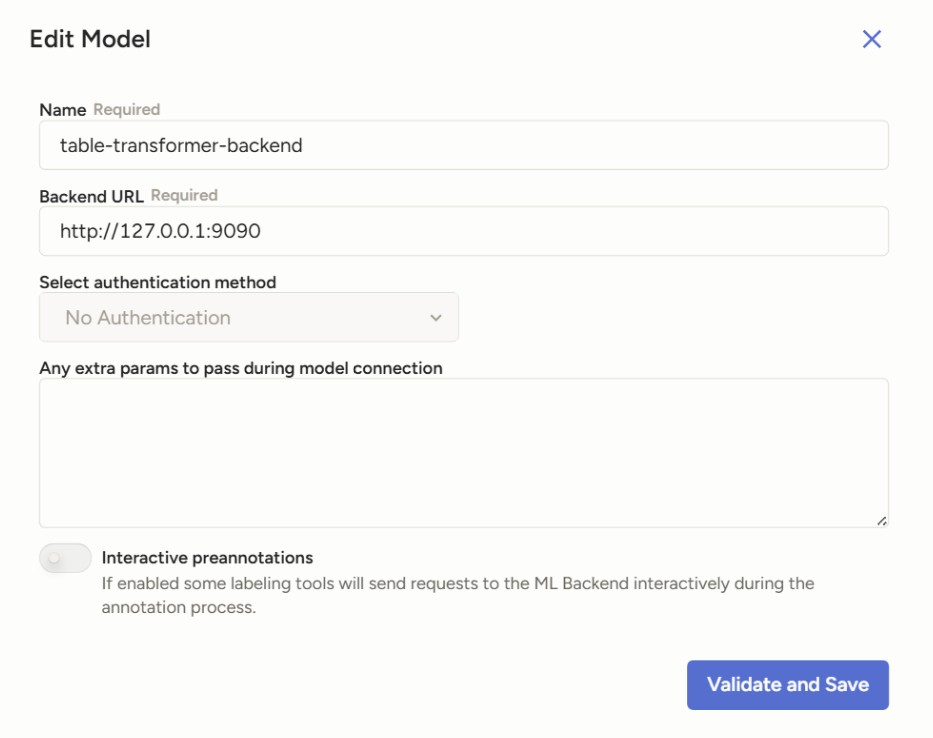
Configuration to connect to ML backend
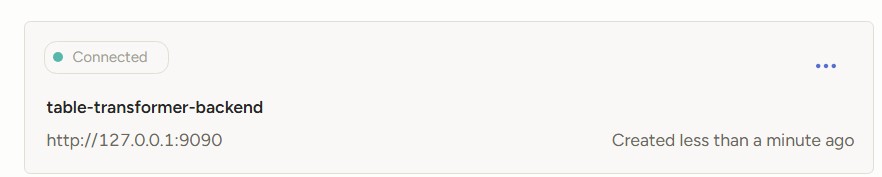
Successful connection to ML backend
Once the ML backend is connected, it is straightforward to use it for prediction.
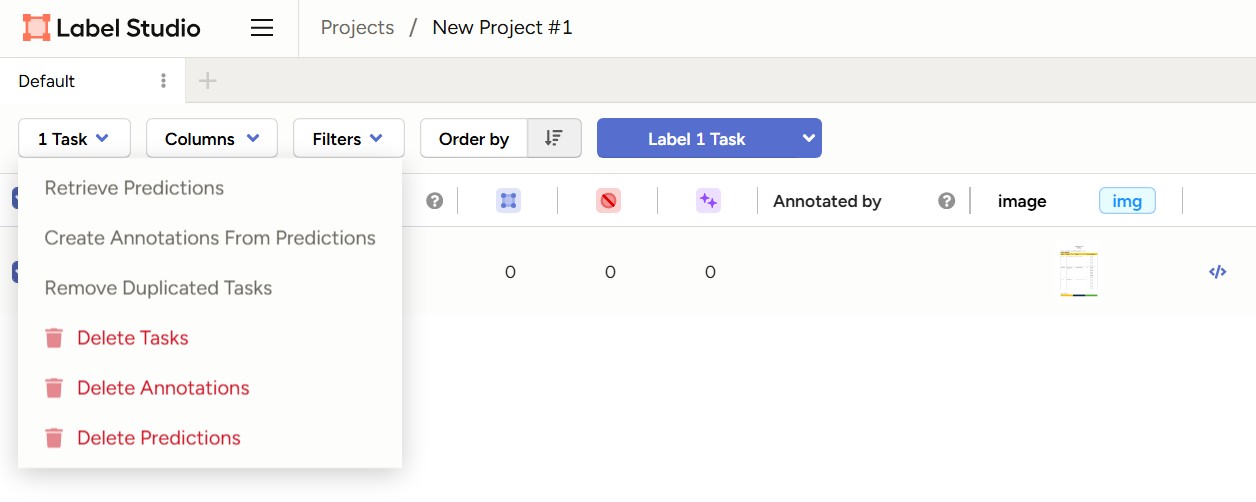
Retrieving predictions from ML backend
Predictions from ML backend
In my ML backend implementation, I am getting the ML backend to use the file that is stored locally, so there is no need to download and cache the image again. This is defined by the part of the code self.get_local_path under the predict function. If you use the same code, you might be getting a similar error as below.

Error due to encoded URL path
This error is due to the encoded URL path. To resolve this, go to the following package file in your venv: label-studio-sdk > _extensions > label_studio_tools > core > io.py and make the following amendments.
# add the unquote function from urllib.parse
from urllib.parse import urlparse, unquote

# look for the function get_local_path(), modify the function to below

if is_local_storage_file:
        filepath = url.split("?d=")[1]
        filepath = safe_build_path(LOCAL_FILES_DOCUMENT_ROOT, filepath)
        filepath = unquote(filepath)  # add this code line
        if os.path.exists(filepath):
            logger.debug(
                f"Local Storage file path exists locally, use it as a local file: {filepath}"
            )
            return filepath
The unquote is necessary as the file path obtained from the local storage file is URL-encoded (e.g space is encoded as %20), so there is a need to unquote to reformat to a proper file path.
Additional Tips for Table Structure Labeling 🔗
For table structure labeling, you should ideally be working off the table image detected by the table detection model instead of the entire document page.
I highly recommend to first fine-tune the table transformer detection model so that it works highly accurately for your domain specific data. Thereafter, use the fine-tuned detection model to detect the table within your documents to extract and save only the table regions as images. You can refer to this code for a simple workflow for inference and extraction using your fine-tuned detection model.
For the table structure labeling, follow the same steps as above to create a new project and use the table region images for your data labeling.
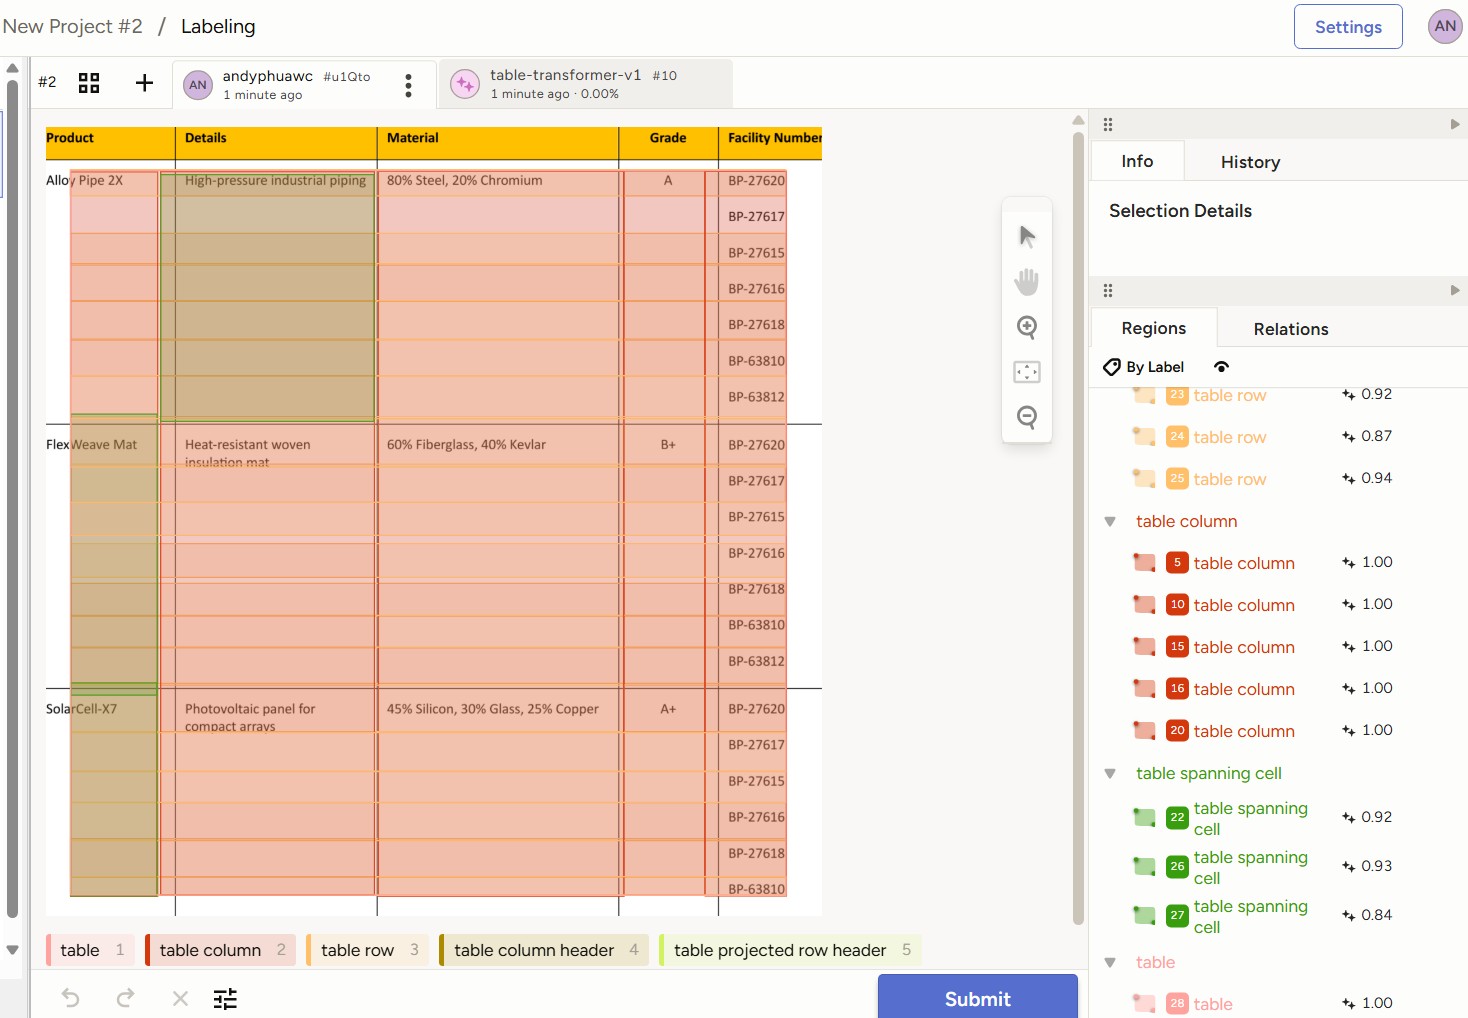
The Table Transformer Structure Recognition base model is clearly lackluster
Exporting and Post-Processing Labeled Data 🔗
After data labeling, export the dataset in COCO format. This is the format required for fine-tuning the Table Transformer. A more detailed explanation of the data format can be found in the Part 2 article of this series. Below is an example of how the COCO formatted dataset looks like.
{
  "images": [
    {
      "width": 2550,
      "height": 3300,
      "id": 0,
      "file_name": "images\\64cb5ad3__data%5Cmock-test_page_1.png"
    }
  ],
  "categories": [
    {
      "id": 0,
      "name": "table"
    }
  ],
  "annotations": [
    {
      "id": 0,
      "image_id": 0,
      "category_id": 0,
      "segmentation": [],
      "bbox": [
        297.2336221043069,
        685.2974729900119,
        1950.3027332161032,
        1924.8955958885467
      ],
      "ignore": 0,
      "iscrowd": 0,
      "area": 3754129.1418170724
    }
  ],
  "info": {
    "year": 2025,
    "version": "1.0",
    "description": "",
    "contributor": "Label Studio",
    "url": "",
    "date_created": "2025-09-13 12:31:52.428644"
  }
}
Since the file_name is based on the path in Label Studio, there is a need to replace the path to where the images are stored locally. You can use a simple helper script for the path replacement.
Possible Authentication Error 🔗
If you have implemented your own ML backend and is getting error HTTPError: 401 Client Error:Unauthorized for url, I suggest looking at this issue: https://github.com/HumanSignal/label-studio/issues/7519 and enabling the Legacy Token.
Next Steps 🔗
With your labeled data, the next step is to perform fine-tuning of the Table Transformer base models which I covered here.
References 🔗
- Label Studio Quick Start Guide: https://labelstud.io/guide/quick_start
- Label Studio ML Backend Guide: https://labelstud.io/guide/ml_create.html
- Hugging Face Docs — DETR: https://huggingface.co/docs/transformers/en/model_doc/detr
- Hugging Face Docs — Table Transformer: https://huggingface.co/docs/transformers/en/model_doc/table-transformer
- Table Transformer Paper (arXiv): https://arxiv.org/abs/2110.00061
- Table Transformer GitHub Repository: https://github.com/microsoft/table-transformer
- Tutorial — Fine-tuning DETR on Custom Dataset (Balloon): https://github.com/NielsRogge/Transformers-Tutorials/blob/master/DETR Fine_tuning_DetrForObjectDetection_on_custom_dataset_(balloon).ipynb
- uv (Fast Python Package Installer): https://github.com/astral-sh/uv